Documenting your Code
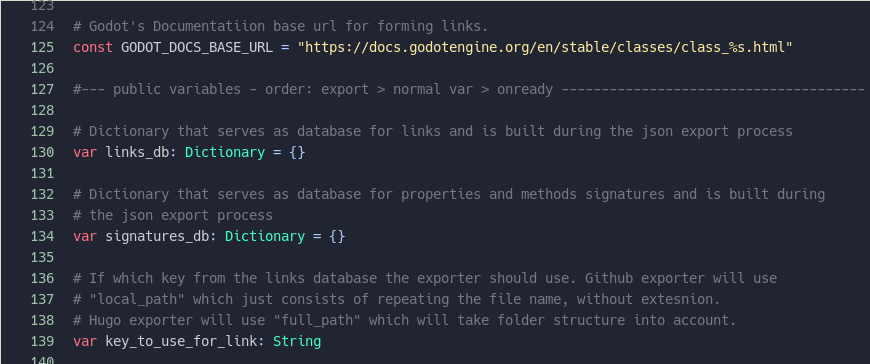
So before you export any documentation, first your code needs to be documented! And that is simple and easy! Just add comments on the lines directly above any variable, constant, enum, signal or function declaration that you want to document!

These comments will be gathered together with the signatures of these declarations and transformed into a documentation similar to what you see in the official docs.
It’s important to note though that only scripts with a class_name defined gets their documentation generated and exported.
Links
You can create links between your documentation pages by simply doing [YourClassName] or links to Godot’s official documentation by doing for example [AnimationSprite]. You can also link to any point inside the same file by doing for example [function_name] or to any point in another file by doing [YourClassName.function_name].
File description and Categories
To add a “description” for a class, put the comments at the very top of the file, even above the tool keyword if you’re using it.

Also in the “description” comments, you can use the # @category: your_category to organize the exported code into folders and group them. You can have subcategories by adding a slash like # @category: your_category/your_subcategory
When exporting to GitHub wikis, these categories will only be used to organize the links in the sidebar
But when exporting to Hugo, each category will get it’s own page, with it’s own description and table of contents, and you’ll also have the option to order them in the navigation menu, using the Docs Exporter tab and the weight options.
But how do you use the Docs Exporter Tab? That’s easy too, and it’s next!